
If you’re wondering how to install an upflush toilet in your basement without breaking concrete, this guide highlights the step by step approach to help you out.
Unlike installing a traditional one-piece or two-piece toilet that involves breaking concrete floors, installing drain pipes, and pouring new concrete, an upflush toilet makes the process much easier.
Instead of relying on gravity to drain, a macerating toilet features a heavy-duty pump that is activated by a float and switch. Once the lower portion of the tank fills up, the macerator/pump turns on, forcing waste up through a 2-inch drain.
Note: You will need a 3-inch vent to conform to most local plumbing codes.
Today’s upflush toilet units are more dependable and come with pumps that are powerful enough to send solid waste and wastewater to the required distance to your house’s drain system.
It will take you roughly a day to install an upflush toilet. Get started by first purchasing a macerating unit, drawing a plan, and consulting with your local plumbing inspector to ensure the plumbing will meet code.
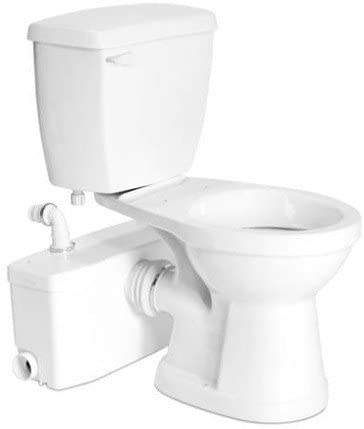
Saniflo SaniPLUS Toilet
Tools Required To Install An Upflush Toilet
You only need four basic connections to install an upflush toilet:
- A SaniFlo upflush toilet pump system with top ratings
- A water supply inlet
- A narrow discharge pipe (3/4 to 1″)
- An electricity outlet with a GFI breaker.
If you’re not an ardent DIYer, get someone skilled in installing plumbing/venting systems.
Overall, you don’t need to drop a ceiling or dig up the floor! You don’t even require any custom equipment!
An experienced plumber can install an upflush toilet in just a few hours or complete a whole bathroom in just a day at a fraction of the cost of constructing a traditional bathroom.
Tools:
- Spade
- Level
- Wheelbarrow
- Garden hose
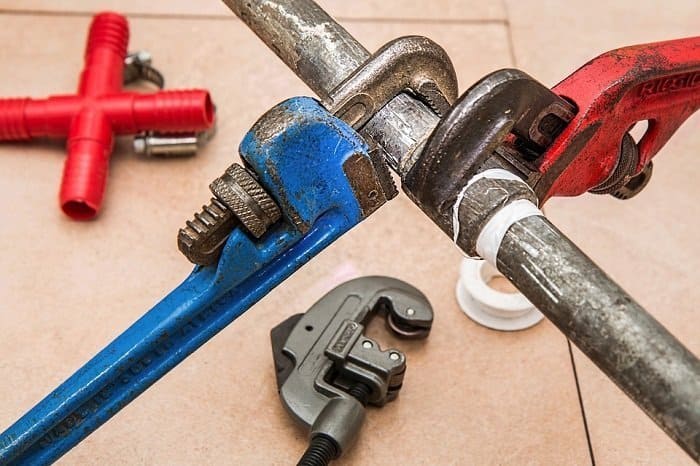
- Adjustable wrench
- Screwdriver
- Hammer
- Bucket
Materials:
- Sand-mix hydraulic concrete
- Iron support flange
- 2×6 joists
- Toilet mounting bolts
- Discharge pipe
- Float switch
- Rubber flange
- GFCI receptacle
- Liquid soap
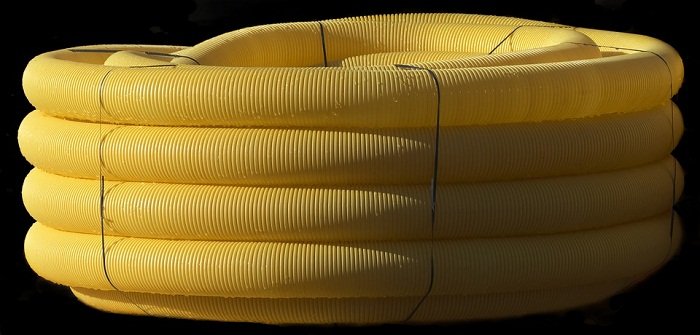
- 3-inch PVC vent pipe
- 2-inch PVC drainpipe
- Subfloor
- Backflow device
- Subfloor fasteners
- Wax ring
- Access panel
- Upflush toilet
- Stop valve
Step By Step Procedure On How To Install An Upflush Toilet
STEP 1: Check Depth
Before you choose an upflush toilet model and begin the installation, determine what type of macerating toilet you’ll need based on the overall distance from the sewer line. An upflush toilet can only be useful if your bathroom is well below the sewer line (approximately 12 feet) or if the drain pipes must travel a long distance (as long as 150 feet) before linking with the main sewer line.
A macerating toilet is designed with a rotating blade that grinds solid waste before pumping it away. The units come with smaller discharge and drainpipes, and the flush cycle normally takes 15 to 18 seconds.
Some manufacturers combine the toilet and the macerating pump in one compact unit while others feature a stand-alone pump with connections to showers and tubs. So, choose what works best for your situation.
STEP 2: Make Base
Most macerating units are designed to fit between 2×6-inch joists. Make a base that allows the toilet to rest on a stable and fairly level surface. If possible, build a simple 2×2-inch wooden frame, mix and spew sand-mix hydraulic concrete, and carefully set the component in the concrete.
Be sure to level the base in both directions and allow the concrete to cure properly before proceeding.
STEP 3: Install Support Flange
The next step is to install the iron support flange to prepare the unit for the toilet. Ensure that the toilet mounting bolts are positioned correctly and are long enough for proper mounting of the toilet.
STEP 4: Install Pump
Next, assemble the float switch and install the discharge pipe. Carefully place the pump in the tank and mount the float switch. Test the pump to make sure it’s working before sealing the unit. To do that, simply attach a garden hose to a water supply and run it through the flange hole.
STEP 5: Discharge Extra Water
Now, connect the discharge to a drainpipe that discharges to a bucket or floor drain. Be sure to tape the temporary drainpipe joints since the pump is usually forceful. Plug the unit into a GFCI receptacle and slowly fill the tank with water. Once the water reaches the correct level, the pump should come on automatically and discharge water through the drain pipe.
STEP 6: Install Vent Pipe
Insert the rubber flange provided in the package and insert a 3-inch PVC vent pipe to the unit. To achieve a tight fit, use liquid soap to make the pipe slippery. Now, run the vent into the main stack, ensuring that the vent and drain are configured to code.
STEP 7: Install Backflow Device
Next, connect the discharge pipe to the unit’s backflow device to ensure that no wastewater flows back into the unit. (Confirm that the right end faces up – it’s usually marked on the pipe). Connect a 2-inch PVC drainpipe to the discharge unit and let it run all the way to the house’s drain system as per the code.
STEP 8: Connect Pipes
Connect the vent and drain pipes to the house’s drain system. Plug the macerating unit into a GFCI receptacle mounted within reach from the access panel and connect the supply line. Finish up by installing the subfloor and walls, taking care not to puncture the tank with long fasteners.
STEP 9: Install The Toilet
Next, finish the floor and walls and mount the access panel. Mount the toilet onto a wax ring and let the bowl rest on the macerating unit. Connect your new toilet to a cold water supply line through a stop valve.
STEP 10: Connect Other Features
Finally, connect additional plumbing fixtures—usually a sink or tub/shower—to the macerating unit. Make sure that the drainpipes for these fixtures flow down to the upflush unit.
This will not pose a problem for the sink since the drain for a macerating unit is usually 16 inches above the floor. You will, however, need to raise the tub so the drain line can flow down to the macerating unit.
Types Of Connections Required On The Outside
You will need to make the following 4 connections on the outside of your upflush unit:
- Connect the macerator/pump to the spigot of the horizontal outlet toilet
- Link the toilet tank to the water supply
- Connect the macerator/pump to the small diameter discharge pipework
- Link the macerator/pump to the electrical supply.
You can also connect the discharge pipes from the bathroom sink, shower, and/or bath.
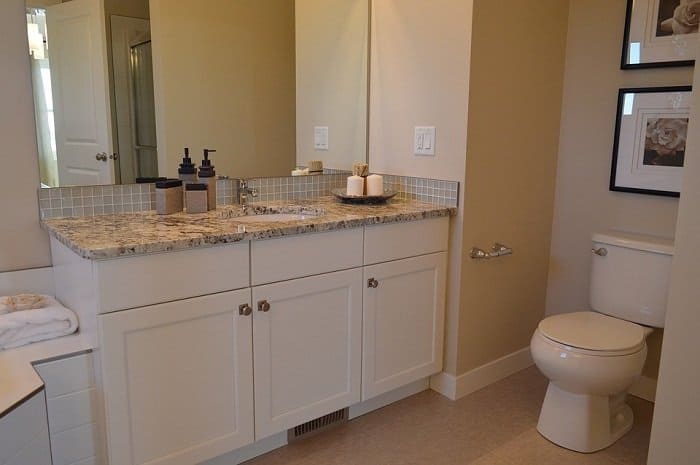
Adding A Sink And Shower To Your Macerating Pump For A Full Bathroom
You can add a half bathroom or go full out by adding a vanity, sink, shower, and bathtub to your macerating pump.
Once you connect the pump to the toilet, you can seamlessly add multiple fixtures to create a full bathroom out of nothing. Just be sure to get the right type of pump that can effectively push up all the waste.
Upflush Toilet Maintenance: How To Clean An Upflush Toilet
Proper cleaning ensures that your upflush toilet system remains in good working conditions without compromising your family’s health. Here are the steps you should take when cleaning your toilet to avoid problems with the macerating pump:
Step 1
First, turn off the power to your upflush toilet’s macerator. Depending on the manufacturer and model, you can find the macerator’s power switch somewhere on the box itself, mostly located directly behind the toilet unit.
Step 2
Next, pour 2-3 cups of non-acidic toilet bowl cleaner in the toilet bowl. Allow it to settle for at least 2-3 hours to allow the cleaner to break up any deposits and grime that has accumulated inside the macerator.
Step 3
Now, turn the macerator on to allow the toilet bowl cleaner and other loose unwanted debris and particles to drain from the macerator through the drain system. The toilet bowl cleaner will also clean the inside of the plumbing pipes.
Final Words!
There you go! As you can see, installing an upflush toilet doesn’t have to be a huge hassle provided you have the right tools and you’ve invested in the best SANIFLO toilet system. Feel free to share you experiences in the comment box below!